
Banquette seating
Things to think about so you can create your own

Banquette seating has become a truly sought after addition to a well designed kitchen —and for good reason. It combines style, comfort, and smart space planning in a way that traditional dining chairs often can’t. It also offers an opportunity for soft furnishings which is important in a space which has a lot of hard surfaces- it can really soften an open plan kitchen!
So let’s get into it. What this isn’t btw is a DIY tutorial because i haven’t DIY’d any of my banquette seating areas but i can tell you loosely what you need.
Step 1: Choose the right location
The best banquette starts with choosing the right position. Popular locations include:
Along a wall
In a corner (L-shaped)
Under a window
Within a bay window
As a room divider in open-plan layouts
Think about circulation around the table as you need to leave enough space for when chairs are pulled out. As an example, this nook at my new house would have been a perfect opportunity for a corner bench but it would have been too tight to get in and out so i had to settle on just a straight bench and a circular table (although an oval table would have actually been perfect for this space but I couldn’t find one with the right dimensions!)
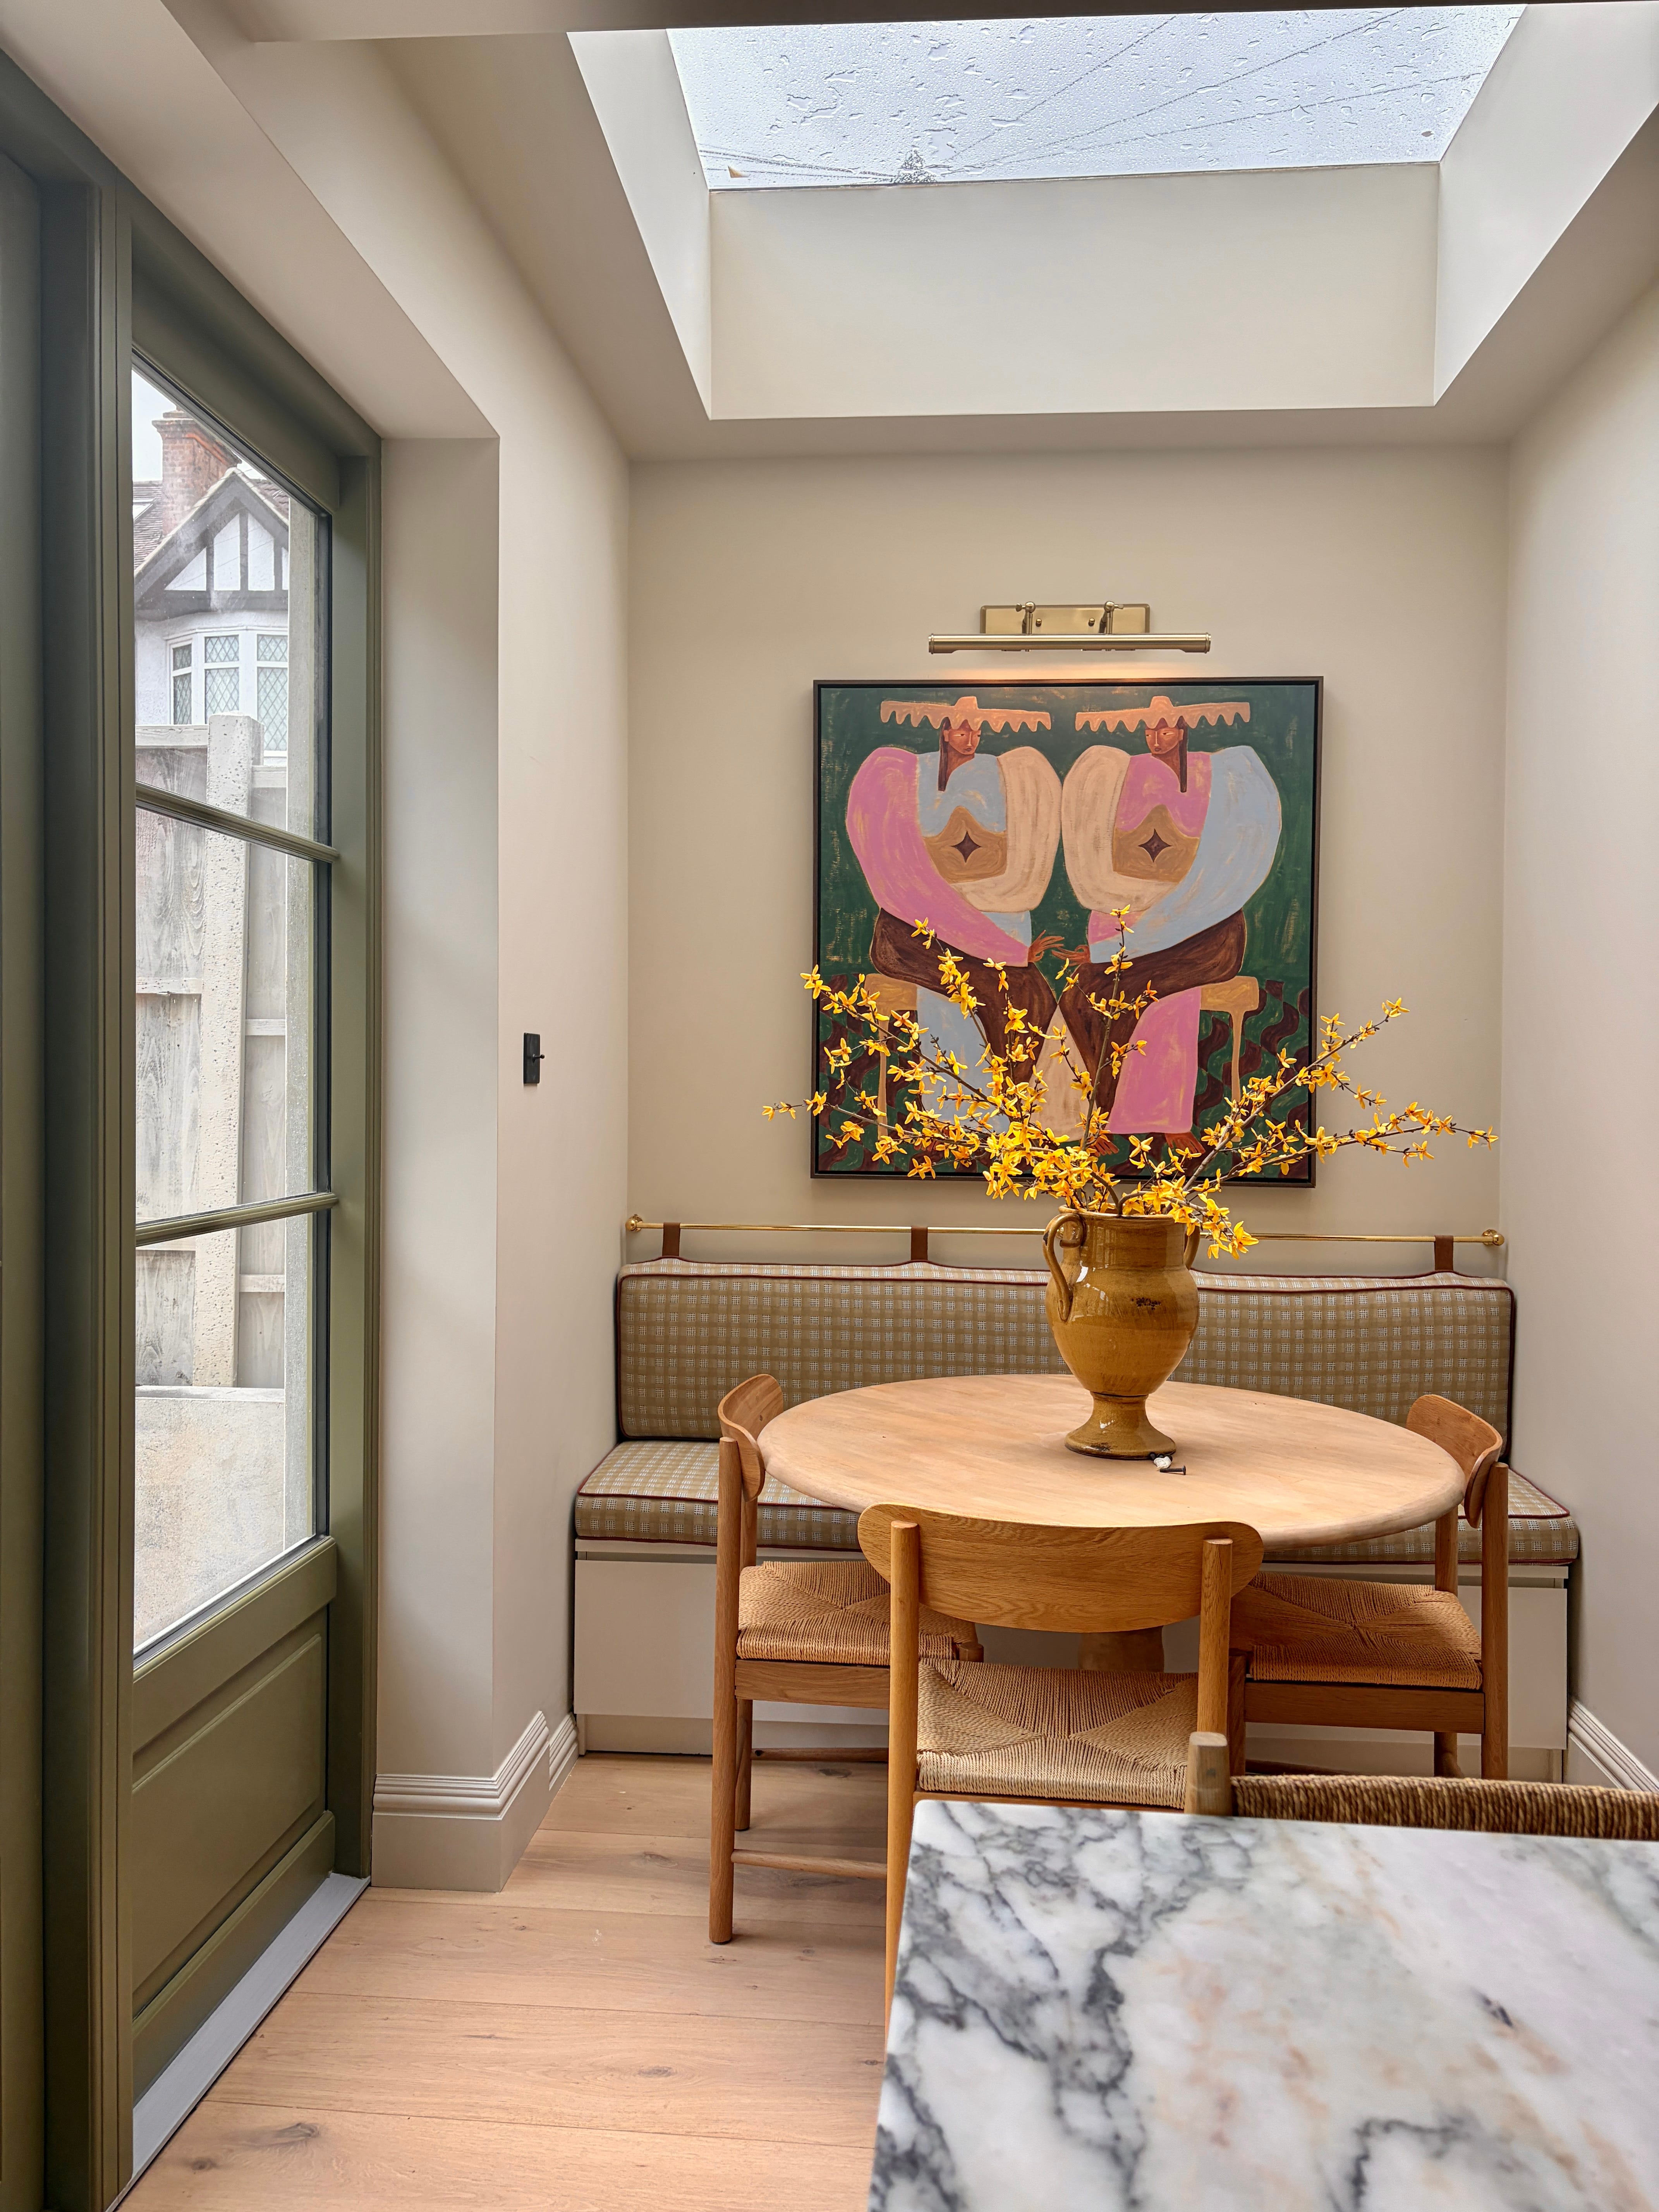
Step 2: Decide between built-in or freestanding
Built-in banquette
A built-in design offers a bespoke look and maximises every inch of available space. It normally includes hidden storage so also super practical. If you want something that runs end to end on your wall or in an alcove space where measurements need to be to the mm, this will be your only option.
Freestanding banquette
Freestanding banquettes offer more flexibility and can be moved if your layout changes. They are also the most cost effective option. These often look best in the form of an antique bench (like an old church pew) with an upholstered cushion seat. I love this example in Leanne’s home (goodboneslondon on insta!)
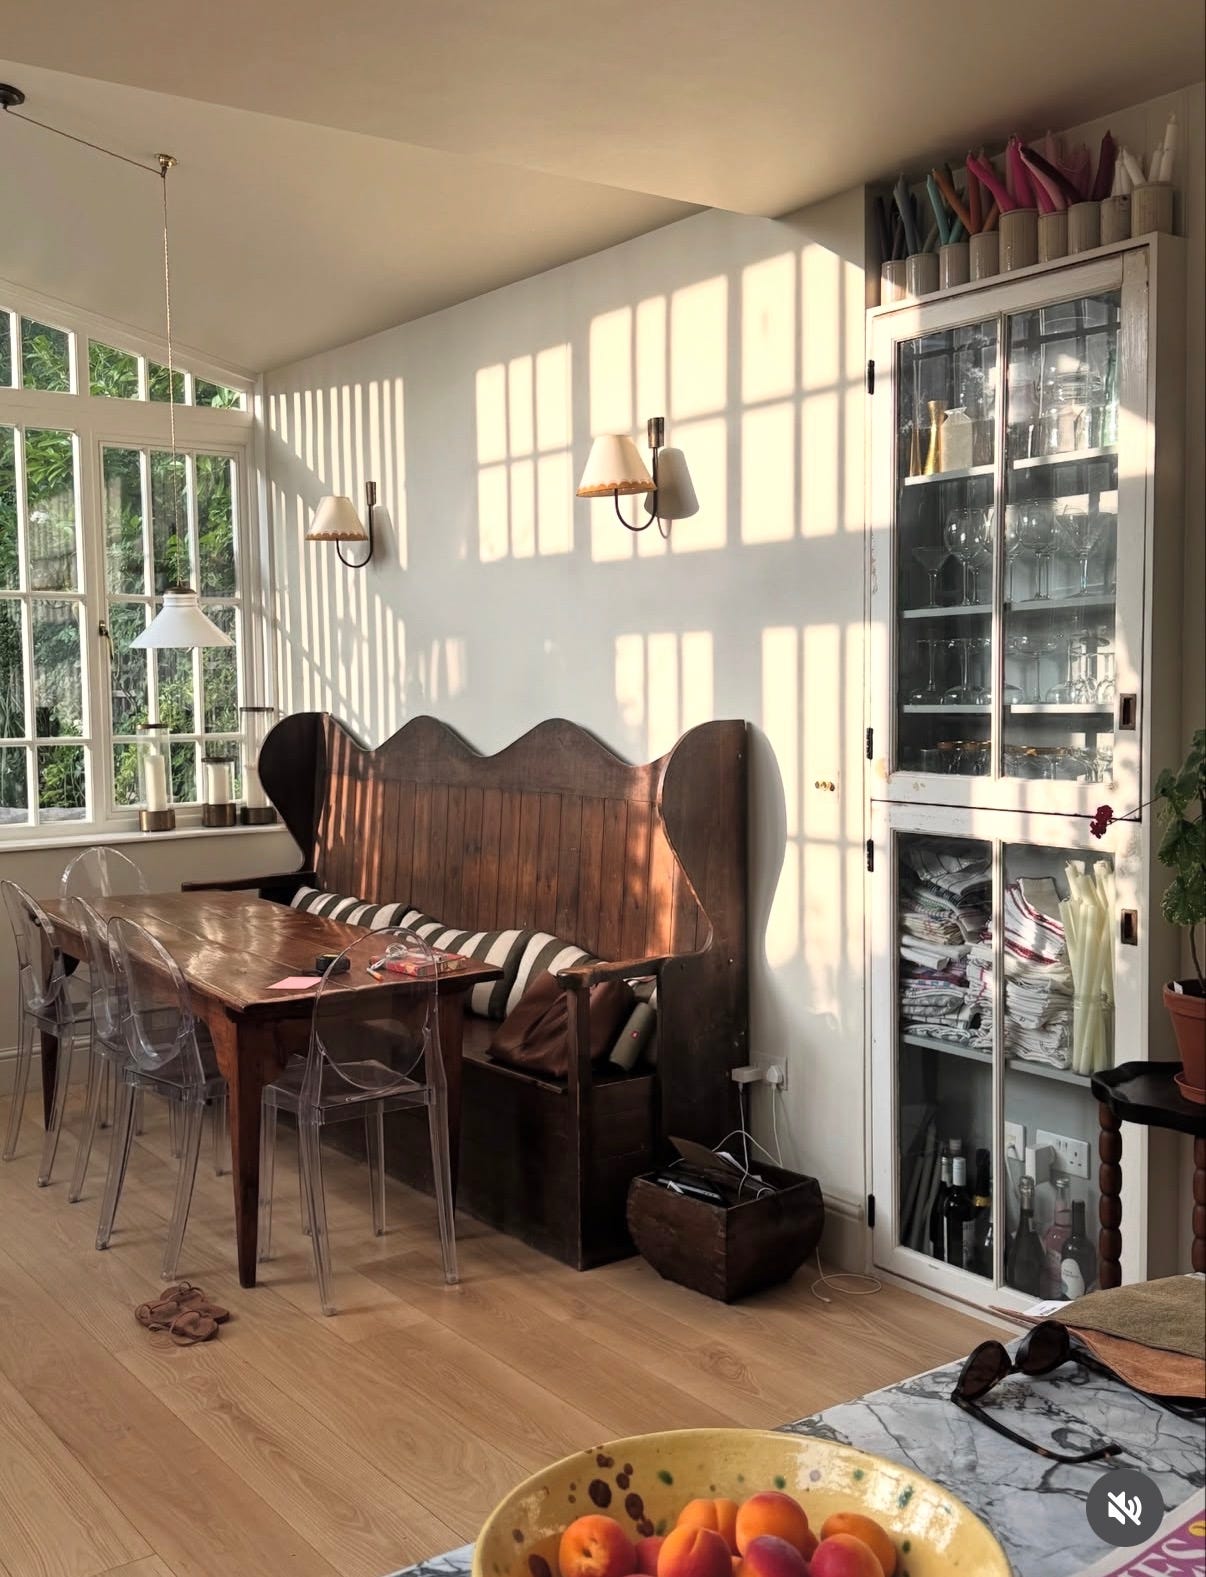
Step 3: Get the dimensions right
Probably the most important consideration. Comfort is everything.
As a general guide:
Seat height: 450–480 mm: this is the finished seat height. I like to do a 100mm deep bottom cushion so that means finishing the wooden box no higher than 380mm from the ground. Also, i always go for a high density firm foam with square edges so you can make a box cushion and it feels nice and supportive.
Seat depth: 450–500 mm: we went for 450mm as we were tight for space but 50mm would feel more luxurious.
Backrest: Some people go for a slight recline but if you want to use brass rods and have it hanging like i did at our latest project you will need to just go for a square non angled cushion. I do this in a medium firm foam to make it a bit softer and it only needs to be 60mm deep.
Table clearance above seat: 250- 350 mm
